Page 3 of 6
Posted: 17 May 2013 4:35 am
by Bob Gibler
David Wright wrote:From what i remember, my Dad always built and wound all his pickups for years, back when this guitar was built, he never did the next one the same, always thinking and trying to inprove his ideas. He spent most of his life building and trying to come up with new ideas, I truly miss the thought I cant just call him and ask the questions a lot of Wright Steel lovers ask me,,...and get answeres. It does my heart good to see you guys taking the time and all the effert in putting these old guitars back to there Glory!!..
String question, dont know, pick your tunnings, theres gages for all of them

keep up the Great WORK BOB

One more thing, parts, he got lots of them in San Francisco, Military surplus, the pullys came out of airplanes, as well as the cables he used. .....
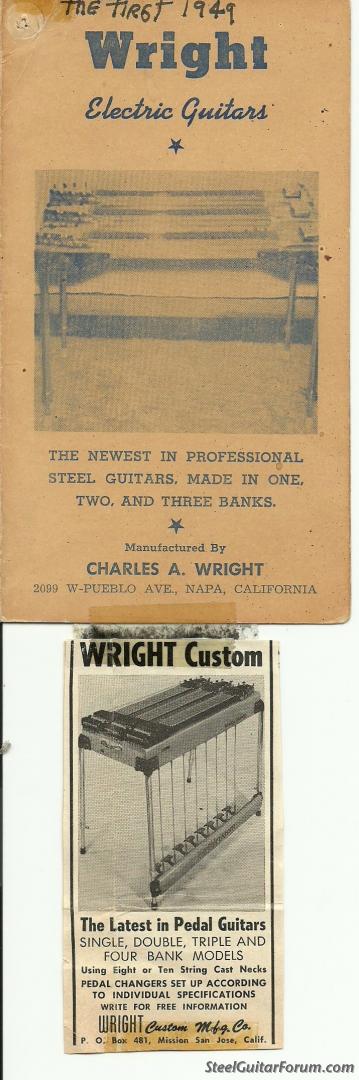
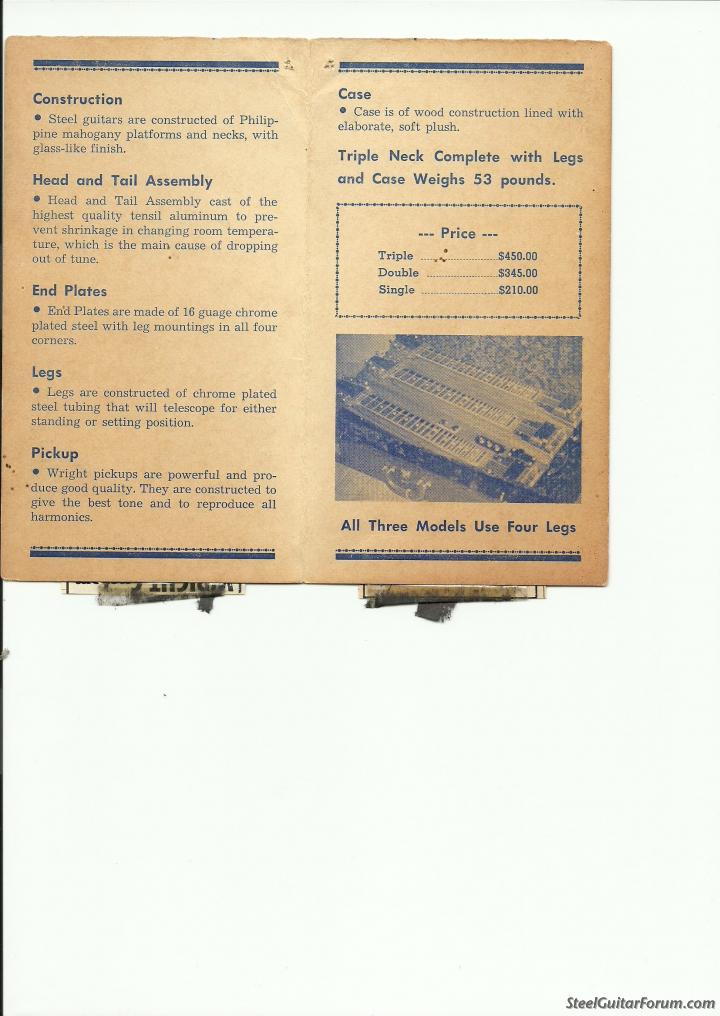
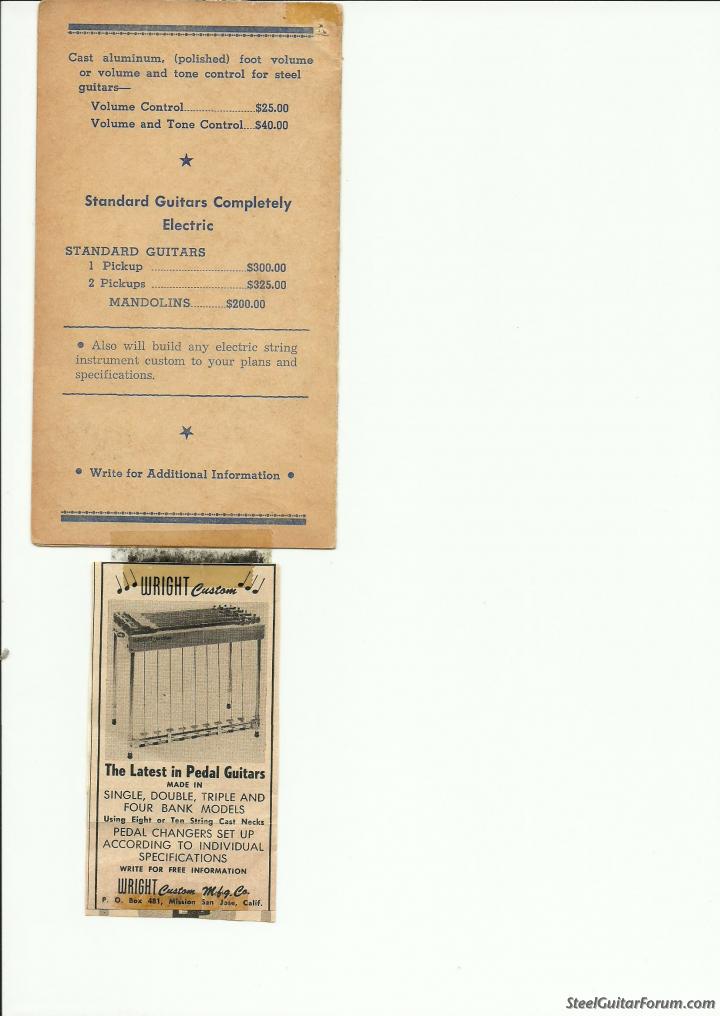
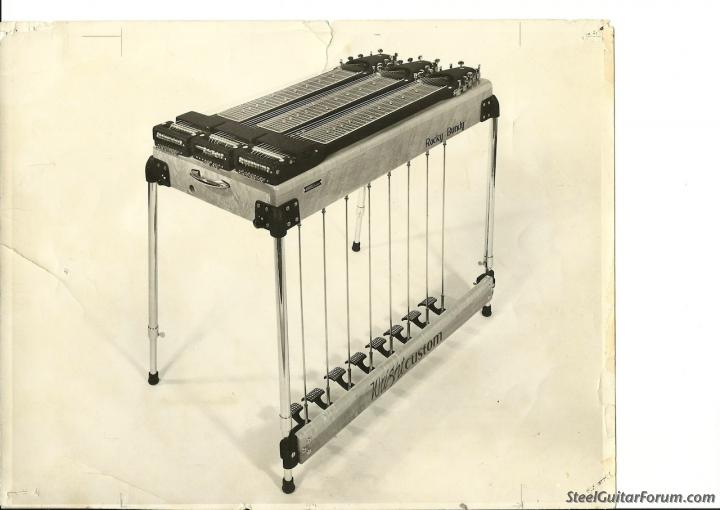
Heres another Wright....
David,
Thank you for the information. I t is my pleasure to revitalize this Steel for your Fathers memory and My Fathers memory.It is nice to see the Wright Guitars that your Father had built. It gives me inspiration. I am kind of putting things together in what your father might have thought of while assembling this Steel, I am totally impressed.
The gauge strings that my father used on this Steel were found in a satchel by my brother Jeff and he knows 3 of the 4 tunings.
I will keep your suggestions in mind and on paper to refer to when the time comes. Everyone here has been an indispensable help in this build. thank you.
Bob G.
Posted: 18 May 2013 5:16 am
by David Wright
Posted: 18 May 2013 3:08 pm
by Bob Gibler
David,
I am very impressed here, Your Dad built more 3 and 4 neck guitars than I could have even imagined. I really love these old ads they are rich in heritage.
I know how you feel about not being able to ask your Dad questions about these old Steels. I too miss my Dad very much.
When my Dad's band would finish a set for the night, Jeff and I would go up on stage and start to strike the gear.
And I can just hear him say, (Bobby be sure to wipe her down good, before you put her away). And I would say You got it Dad,,, Will do..
Posted: 18 May 2013 3:11 pm
by Bob Gibler
Final Polishing Complete...
Posted: 19 May 2013 7:17 am
by Bob Gibler
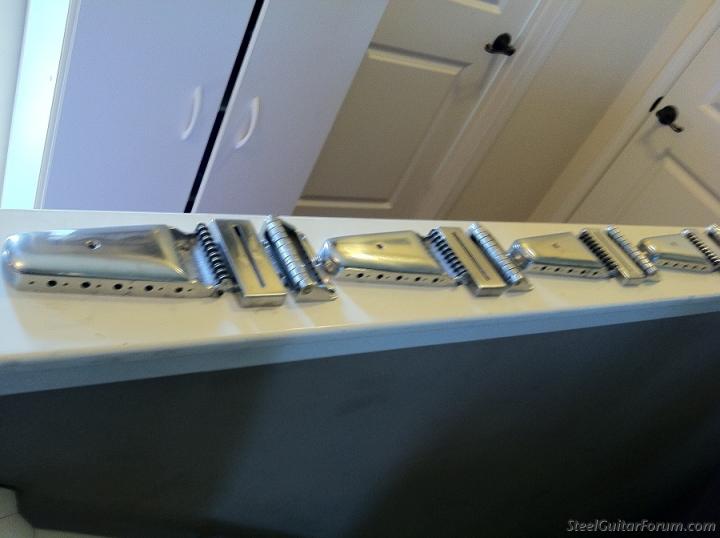
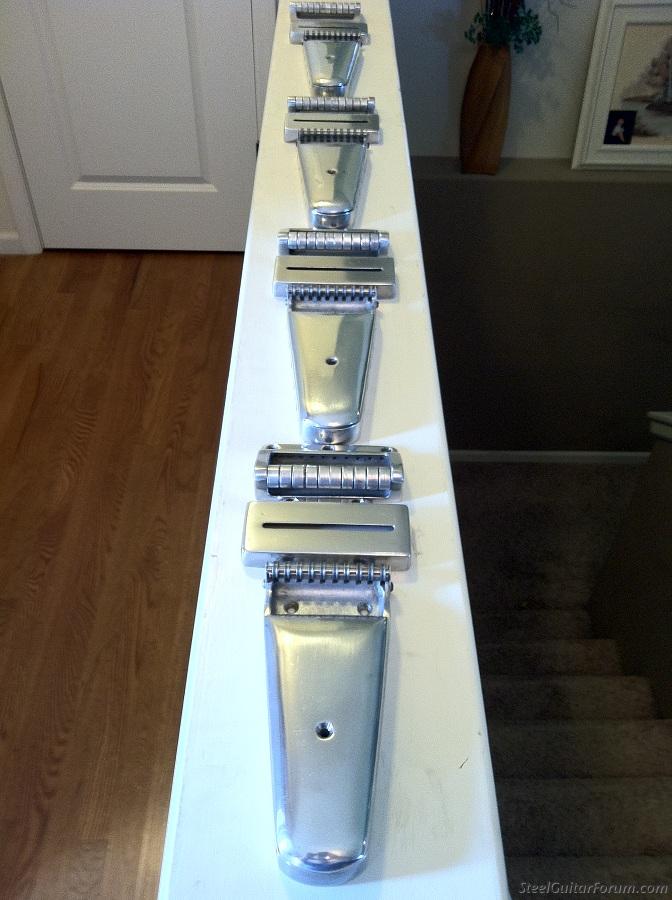
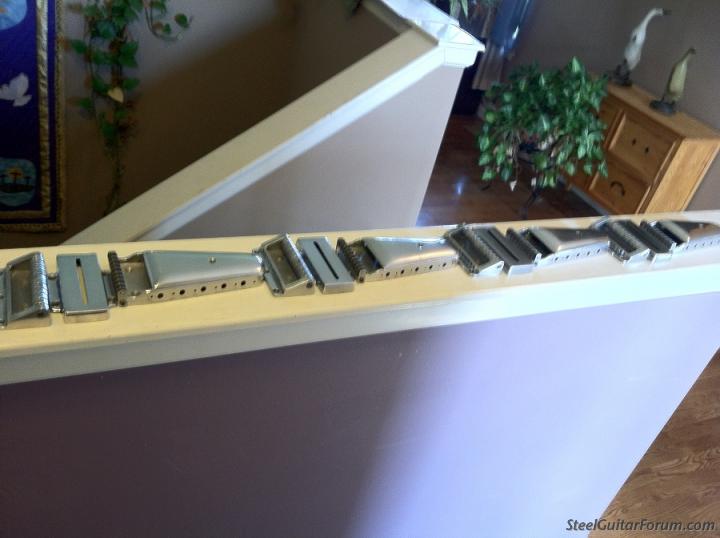
Well it has taken a while to complete the polishing of all of the Aluminum and Steel components for the 4 neck Custom. However, The job is Complete.
What I failed to show are the dividers that are nailed between the necks and the switch and pot plates. All look very nice.
At this point I will be able to concentrate on the table components and the wiring. I will start to disassemble the Necks and skirts today after the wiring is carefully removed. I hope I am not boring anyone with pic's, I just thought all would like to see how the polished parts look.
Pic's Below, More to come.
Posted: 19 May 2013 7:39 am
by Scott Duckworth
Keep bringing the story and pics!
Posted: 19 May 2013 7:49 am
by Jay Fagerlie
They look fantastic Bob!
That guitar is going to look so nice.

Keep up the great work, you are doing what most of us can only dream of doing!
Jay
Re: Final Polishing Complete...
Posted: 19 May 2013 7:49 am
by Ken Byng
Duplicate post - sorry.
Re: Final Polishing Complete...
Posted: 19 May 2013 7:54 am
by Ken Byng
Bob Gibler wrote:...... I hope I am not boring anyone with pic's, I just thought all would like to see how the polished parts look.
Pic's Below, More to come.
Bob
Your project is far from boring, and I suspect that there are many folks around the world keeping up with your project. As Scott said, keep them coming!!!
Posted: 19 May 2013 8:13 am
by Jay Fagerlie
I second that Ken,
This is one of the BEST things about our Forum!
Keep them coming Bob!!!
In as much detail, number of pictures, verbose descriptions, as much as you want- we're up for all of it!
It could never be too much or boring.
J
Posted: 19 May 2013 9:27 am
by David Wright
L@@k's. great !!!
Wright project.
Posted: 25 May 2013 3:04 pm
by Bob Gibler
Posted: 25 May 2013 5:05 pm
by David Wright
Clean and sort the original pots and switches.
Posted: 26 May 2013 6:14 pm
by Bob Gibler
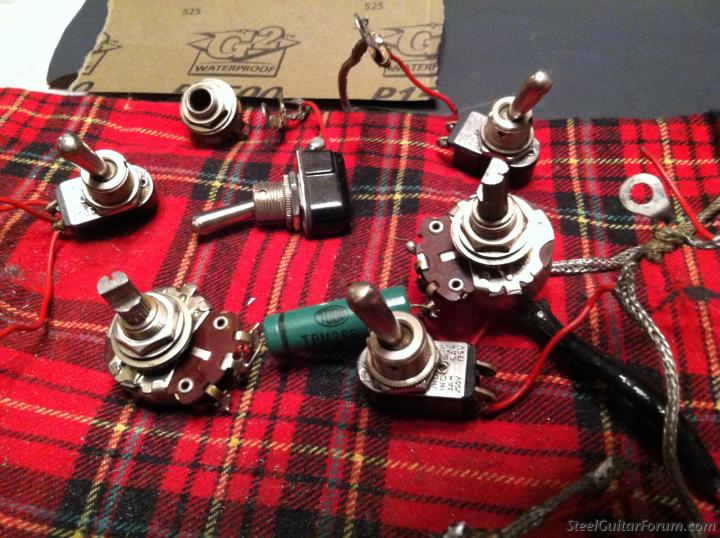
Today I started in the final polishing of Switches and Pots on the 4 neck Wright.
I had decided to use the original switches and Pots with the Capacitor as They work great and are not in the least worn, They seem to be a much better quality than the ones I have looked at in Kansas City this weekend.
So I have decided to clean and polish them out along with the jack plugin that mounts on the bottom of the Steel.
I used 0000 steel wool very carefully on the nuts,washers,threads and toggles along with P 1500 WET/DRY crocus cloth to get that bright shine.
The wiring seems to be in like new condition,so I will remove the lead based Solder and when reassembly is in full swing I will Solder them up again.
The capacitor is in great working order and still looks brand new after all of these years.
Here are a couple of Pic's for you.
Now on to the woodwork....

Posted: 27 May 2013 7:02 am
by Jay Fagerlie
Suggestion Bob- if the solder joints are good and solid- leave them.
Don't fix it if it aint broke!!!
The increased heat needed by todays lead free solder could cause more harm than good on an instrument of this age.
Just a suggestion....
Jay
Posted: 27 May 2013 8:35 am
by Bob Gibler
Jay Fagerlie wrote:Suggestion Bob- if the solder joints are good and solid- leave them.
Don't fix it if it aint broke!!!
The increased heat needed by todays lead free solder could cause more harm than good on an instrument of this age.
Just a suggestion....
Jay
Jay,
You are right on target. If you will notice, I only unsolder-ed the connections that joined the switches to each other in their link.
The pots are left alone. I have some lead based solder to reattach the connections at a lower heat.
I really appreciate the suggestions. It is nice to have guy's like you and my Brother Jeff who know these things. This kind of work is an exciting education for me.
Thanks for the much needed advice and encouragement.
Keep it coming.
Posted: 27 May 2013 8:46 am
by Jay Fagerlie
Bob,
Thanks so much for sharing this with us!
Something else you can think about is getting some of this:
http://store.caig.com/s.nl/sc.2/category.293/.f
It will make your pots rotate freely and smoothly like they are supposed to be-
Plus, it will remove any oxidation from the carbon element to get rid of scratchiness.
Everyone should have a can of this- a little spurt lasts for a long time-
Jay
Posted: 27 May 2013 8:51 am
by Bob Gibler
Len Amaral wrote:Hi Bob....first off....you never use your hand with sand paper of any grit......ok maybe on round areas or places a flat rubber or felt block wont fit in a small area with the sand paper on it.
Use an empty dish water bottle and fill 3/4 way with fresh water then a tea spoon of dish soap and shake it up good. Spraying in a controlled area is great but get a humidity gauge at walmart for about $10.00 and if is damp or raining wait untill the humidity is 40 to 50%.
Compressor tanks have small amounts of oil and all types of contaminants even if they have water and line filters. This causes a condition called fish eye. A few drops in the laqure and a touch of retarder in th mix will prevent the fish eye. The best thing to do is trial on a sample piece of wood.
I would try after sanding and two coats of sanding sealer with 400 sanding between each coat and do not use the water with soap as that is only for the lacquer. Three or four coats should be good but give as many as you like repeating the process but remember the 600 and 0000 wool with lemon or other finish oil and pumice and rub with the grain after the last coat only. One coat a day should be ok between coats with a nice even spray swipe continuing off the edge then stop and drop down to the next swipe and start the gun again. This prevents overloading the edges. Also hold the spray gun 8 to 10 inches your work with a 4 to 5 inch fan of smooth spray is what you are looking for. HOPE THIS HELPS....
Len,
I will be starting on the finish as soon as the MONSOON stops here in Kansas, I have wrote down all suggestions from you guy's on the forum, and am ready to start the removing of the lacquer today. The necks are apart for sanding and grain raising. and then I will let the maple dry and medium sanding and again dry and fine sand until all lacquer is off. and then I will wipe again, and start with the sanding sealer after the stain and sanding to enhance the grain pattern. So here we go
Posted: 27 May 2013 12:54 pm
by Bob Gibler
Jay Fagerlie wrote:Bob,
Thanks so much for sharing this with us!
Something else you can think about is getting some of this:
http://store.caig.com/s.nl/sc.2/category.293/.f
It will make your pots rotate freely and smoothly like they are supposed to be-
Plus, it will remove any oxidation from the carbon element to get rid of scratchiness.
Everyone should have a can of this- a little spurt lasts for a long time-
Jay
"WOW" Jay,
Thanks again for the heads up. I will defiantly get some of that spray. I just decided to take a short break from stripping right now. The wood has been disassembled and I have started the stripping process. that lacquer is coming off in gooey slimy rolls. will get back at it in a few minutes.
One more thought on a finish
Posted: 28 May 2013 3:12 pm
by Steve Waltz
I read some of the talk about finish and I thought I'd show how this guitar looked and what was done. It's maple. It was blonde but then painted blue so all of that was removed. We did use the shellac as others have mentioned but we mixed the clear shellac and the orange until we got the right color. The orange can be a bit much. I have found shellac to be a bit dificult to put on in an even way since it dries fast but it really does add a nice color. After enough coats of shellac we went with Val Spar varnish. It think it was from ace and it comes with an amber tint to it. A light coast was brushed on each day for about a week. After a week of drying it was rubbed out in a simlar way as mentioned already.
If I did it now, I would put a few clear coats of shellac on top of the colored layers to buy a little space. It's fairly easy to rub out your varnish and go straight trough the colored shellac and get a bright spot. I would think a few clear coats might help to avoid that. With enough coasts of varnish the finish is hard as a rock, deep and can be finished to a high gloss.
This type of finish ended up looking farily similar to my Clinesmith.
Hope that helps or gives you another option.
Re: One more thought on a finish
Posted: 28 May 2013 4:02 pm
by Bob Gibler
Steve Waltz wrote:
I read some of the talk about finish and I thought I'd show how this guitar looked and what was done. It's maple. It was blonde but then painted blue so all of that was removed. We did use the shellac as others have mentioned but we mixed the clear shellac and the orange until we got the right color. The orange can be a bit much. I have found shellac to be a bit dificult to put on in an even way since it dries fast but it really does add a nice color. After enough coats of shellac we went with Val Spar varnish. It think it was from ace and it comes with an amber tint to it. A light coast was brushed on each day for about a week. After a week of drying it was rubbed out in a simlar way as mentioned already.
If I did it now, I would put a few clear coats of shellac on top of the colored layers to buy a little space. It's fairly easy to rub out your varnish and go straight trough the colored shellac and get a bright spot. I would think a few clear coats might help to avoid that. With enough coasts of varnish the finish is hard as a rock, deep and can be finished to a high gloss.
This type of finish ended up looking farily similar to my Clinesmith.
Hope that helps or gives you another option.
Steve,
That is one really nice Axe you have there. Shellac with a Varnish finish can be a very durable finish, and your Three neck Steel is beautiful to look at.It gleam's. I really like the Figure on your Maple Steel. Real nice.
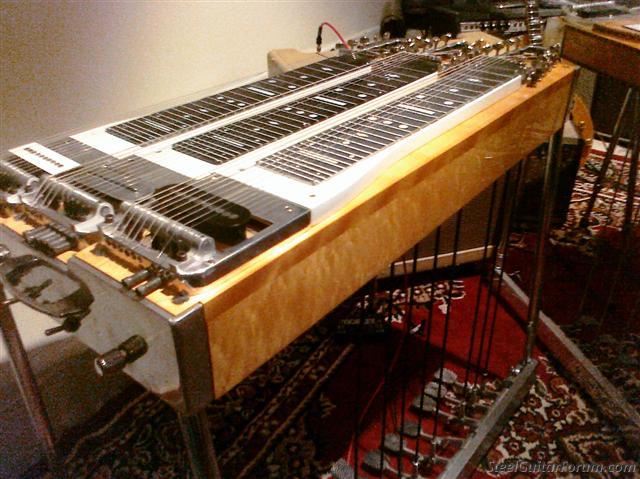
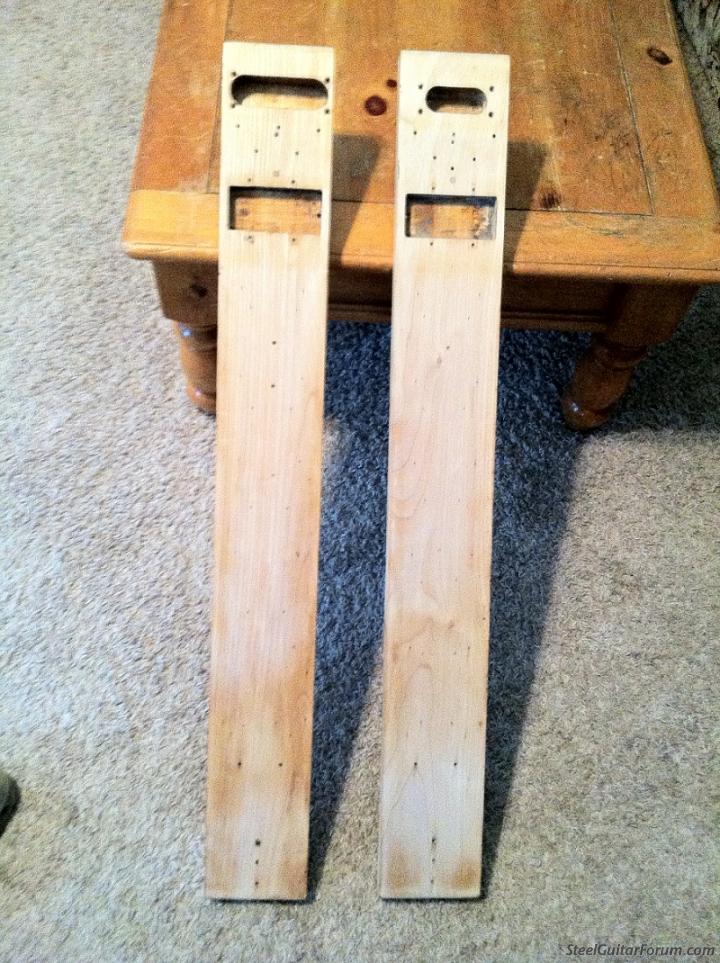
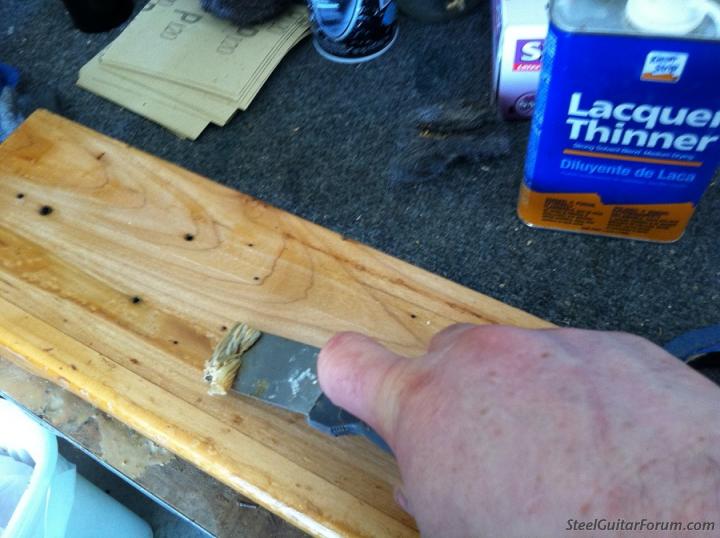
I have removed most of the Lacquer from the 4 neck Wright. The Finish is coming off in rolls and gunk with the Lacquer thinner. I am using a paint scraper and steel wool.
There still have loads of sanding and sealing to do. I still have the #1 and #4 boards to strip along with the front and rear aprons and side skirts.
I have decided on finishing the Steel in a clear Lacquer with a golden tint, as it was originally done. I know it will take some serious work, But I am up for it.
I have a couple of photos I can share now that the wood is dry. Keeping in mind the sanding I have left to do.
Posted: 1 Jun 2013 4:28 am
by David Wright
Posted: 1 Jun 2013 8:33 am
by Bob Gibler
David, Yes I saw that steel. Large price tag but I think it is worth it.
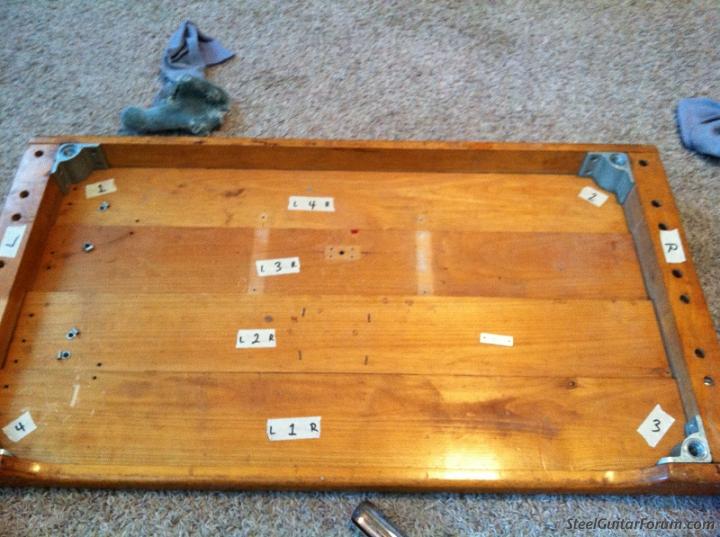
I have been working on the 4 neck and discovered Numbered components under the lacquer. thought you folks might be interested.
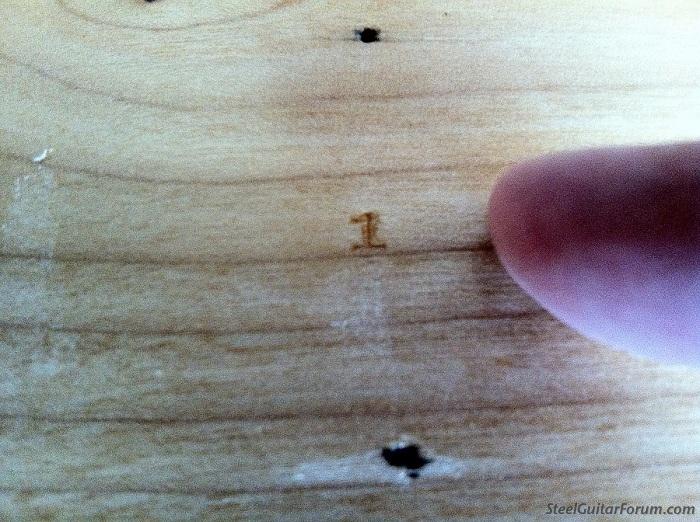
Cool Huh?
Posted: 2 Jun 2013 10:08 am
by Bob Gibler
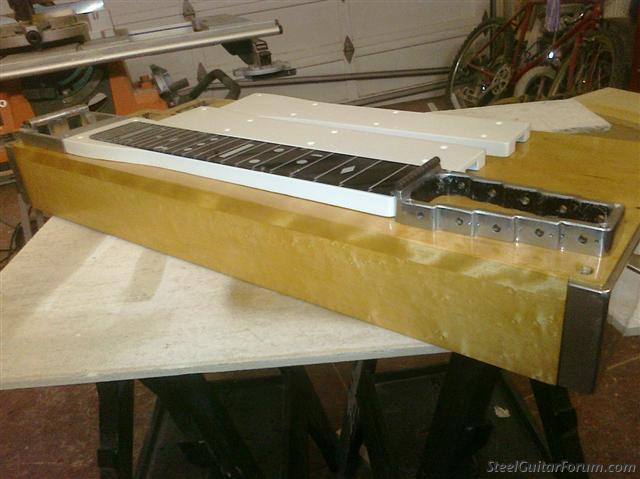
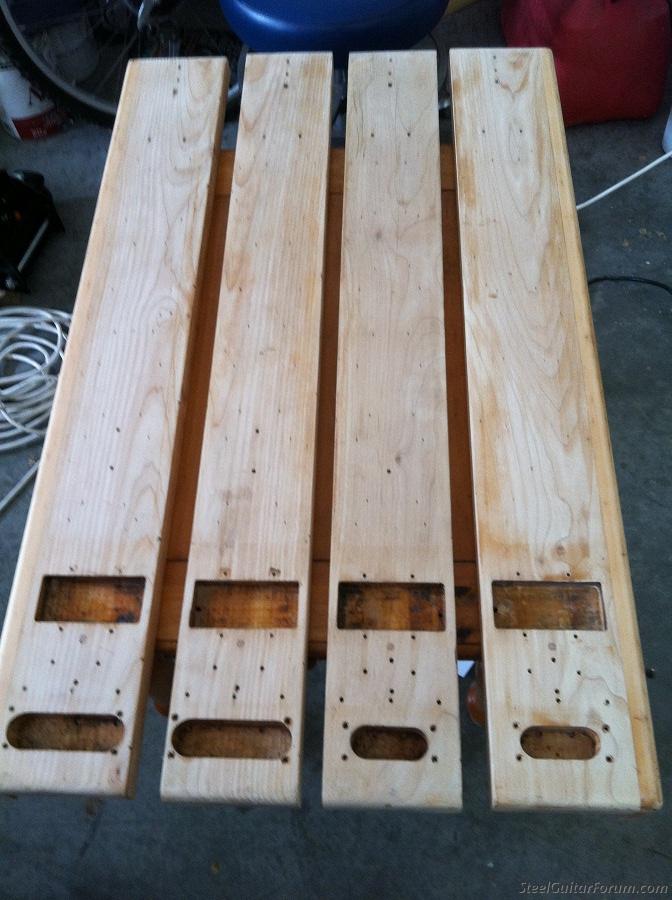
OK, All of the stripping of the lacquer is now finally finished.......Yet,,,Wait,,,,, Am I just,,,,,It doesn't look,,,,,, (WHAT IN THE WORLD?) Yet another pleasant surprise.
What I believed to be a maple console. I now believe may be made of Adler. Can this be correct?

Look at the figure and the grain,What do you think?


Posted: 3 Jun 2013 5:56 am
by Bob Gibler
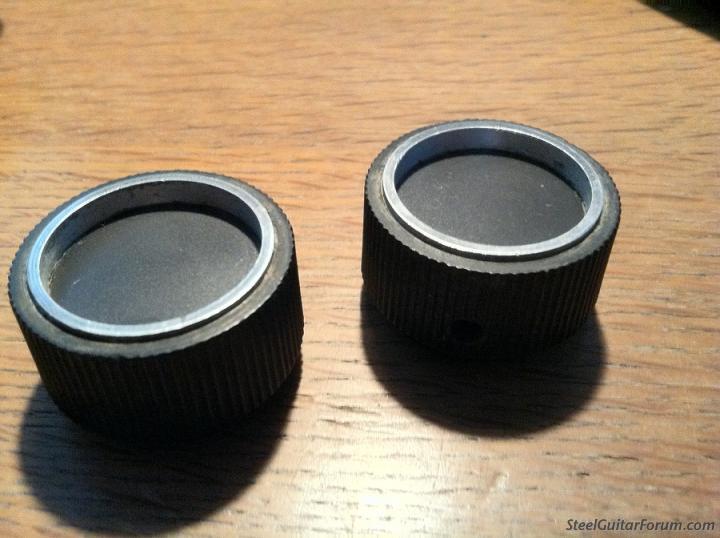
Bob Gibler wrote:Well Today I start disassembling the maple so it can be stripped, sanded and sealed for the Lacquer. I sure am having a hard time finding the tuning Knob and the volume knob as they are not Standard equipment for any other Guitar. I am still searching. Continuing with the restoration.
Sorry the pic's are a little blurry.
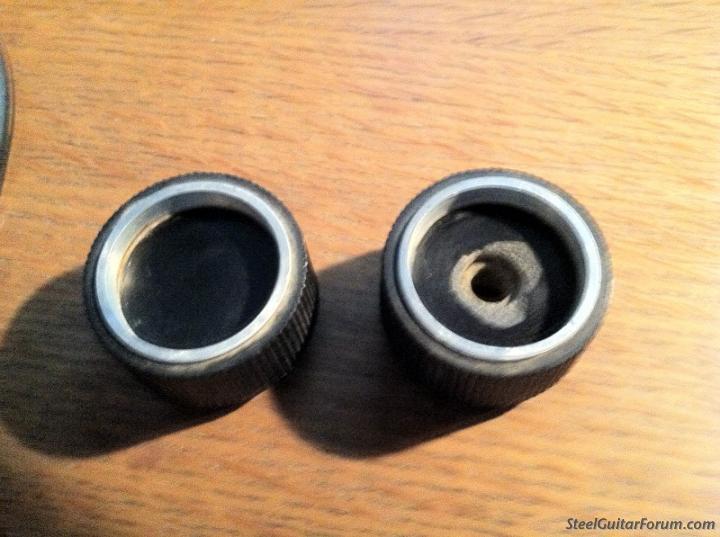
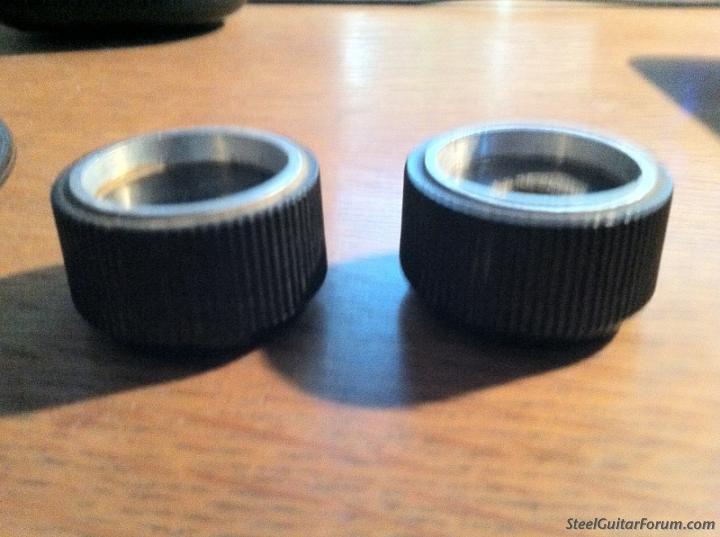
I had a great thought last night around 3:30am. What if I repair the tuning and volume knobs myself.
So I tore up a DVD Case in black and cut two disc's out of it using a compass, and exact o Knife, then I epoxied the disc's into the top of the knob housings. and Boom, they look good. Don't ya think?
NOW on to the sealing and sanding all of the Wood pieces ...