Hi Dan,
Here are some more pics of the progress. I'm including some 'how to' pictures for those interested in the details of the machining...
I couldn't get the right size aluminum in a timely way so I had to resize.
Cut out the Lower Levers

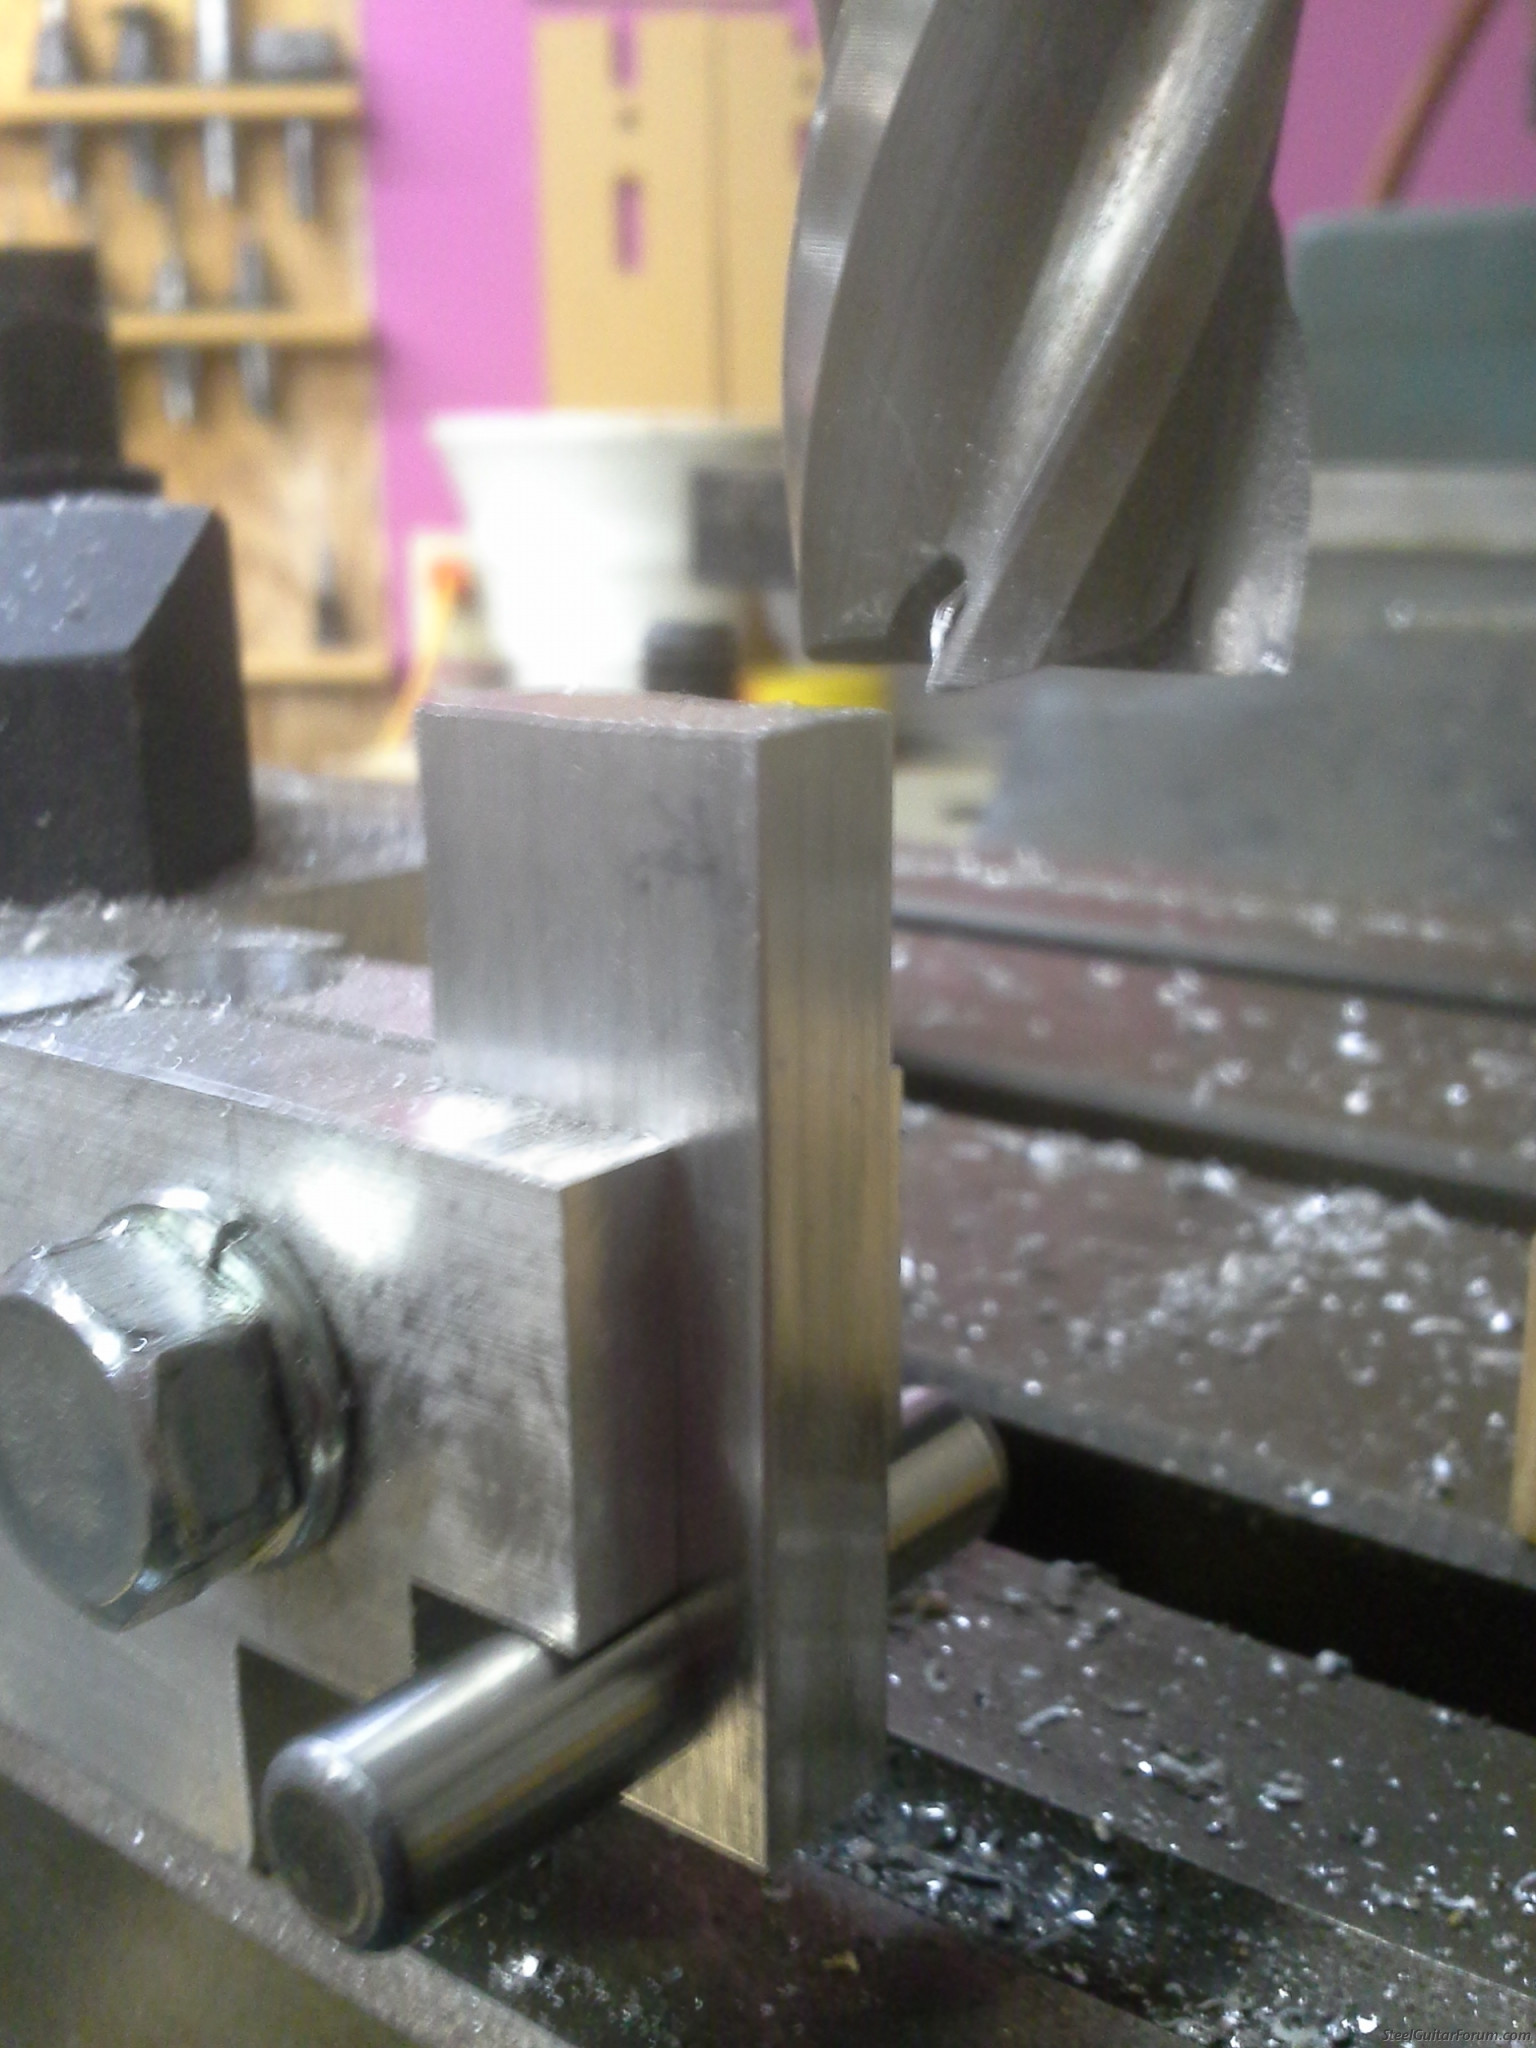
Decided to drill the rod holes after I had already cut out the levers and so needed secondary operations. Should have done it at the same time.

This is how I bent the levers. All the same. The metal is like real stiff putty. It's amazing how doughlike it is. It just lays right down with very light tapping despite how stiff it is. It is just mild steel. I hope it is the right stuff. I think it will be fine. The hammer looks big in the picture, but it is just a little tiny jewelers hammer.

I got stainless rivits. I didn't want to shell out for an expensive rivet setter and so I used the dremel and ground a dowel pin into a makeshift setter. Worked like a charm but I had to take real heavy blows to form them. Almost as hard as an experienced framer would use to drive nails.

And the rivit...

And now some rings to supply the right string spacing which in my case, I wanted .375". Thats more than most steels if I'm not mistaken, but the one I tried seemed real close together. It adds up over 12 strings. This will be kindof a wide sucker...

I had to sharpen the end mill several times so far. I can't believe how well the cutter holds up though. This is by far the most milling of steel that I have done. I have used the machine mostly for wood previously. This is my precision end mill sharpening setup. A steady hand and magnifiers helps a lot...

Sorry for the length of the post, but I thought some less experienced readers may be interested in some technical shots and description. I'm always interested when others post it.
And now first assembly of the changer with the spacers included. I got the wrong length of shaft and wrong material and so have to reorder the shaft. And.. yep that's me in the picture.


 If you want to have an ongoing discussion, please email me, don't use the Forum messaging which I detest! steelguitarlessons@earthlink.net